
Setting Up a Small Creative Space at Home
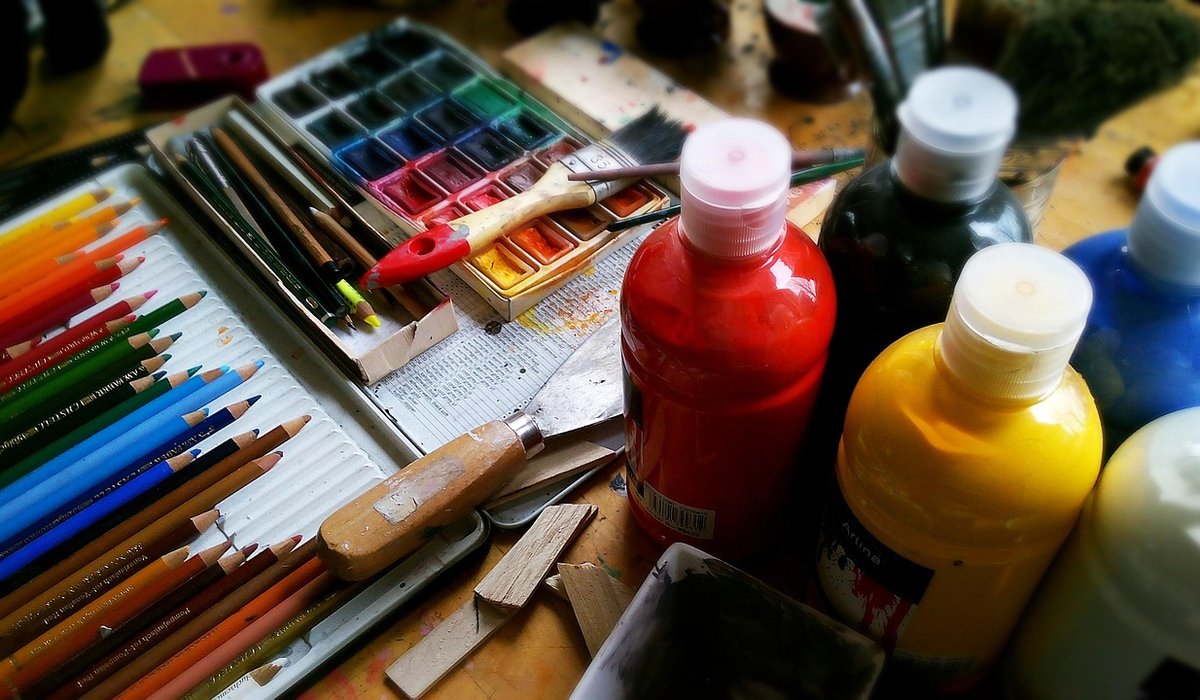
A dedicated creative space does not need its own room. In a flat, a spare bedroom corner, or even a hallway alcove, a well-planned metre of space can do everything a full studio does. The trick is to organise that small area around three things: good light, sensible storage and a comfortable place to sit. Get those right and you will find yourself working far more often, simply because setting up is no longer a chore.
Find Your Corner Before You Buy Anything
Start by watching how light moves through your home during the day. Most British homes have one or two rooms that catch decent daylight, and the north-facing spare room that always feels gloomy is rarely the best choice, however tempting its spare floor space. A corner of the living room or the end of a kitchen worktop will often serve you better.
Look for a spot that meets a few practical conditions:
- Enough daylight to judge colours honestly, ideally from a window to your side rather than directly in front of you
- A nearby double socket, so you are not trailing extension leads across a walkway
- Room to push a chair back without blocking a door or a radiator
- Somewhere you can leave a wet canvas or a drying print without it being knocked
Measure the space properly before you shop. A width of 90 to 120 centimetres is plenty for a slim desk, a stacked set of drawers and a small trolley beside it. If floor space is genuinely tight, think vertically: a narrow shelf above head height holds far more than you expect.
Lighting Is Worth Spending On
Daylight is wonderful but unreliable, and by four o'clock in a November afternoon most of us are working under a bulb. This is the one area where a little investment pays off immediately. A colour-accurate lamp — often sold as a daylight or high CRI lamp — lets you mix paint and match fabric without nasty surprises when you take the work into another room.
Two lights are better than one. Place a main lamp to one side and slightly in front of your work, then add a smaller adjustable lamp for close detail. This reduces the harsh shadows that make drawing and fine brushwork tiring. If you paint or draw at an easel, angle the lamp so the light falls across the surface rather than straight onto it, which flattens the texture.
Warm white bulbs are lovely for a living room but misleading over a palette. Keep your task lighting neutral and save the cosy glow for the rest of the house.
Storage That Matches What You Actually Use
The biggest mistake in a compact space is buying storage before you know what needs storing. Empty every drawer and box you currently keep your supplies in, then sort into three piles: used weekly, used occasionally, and used twice in five years. Be honest about the last pile.
For the weekly items, aim for open storage within arm's reach. A row of jars or tins on a shelf beats a closed cupboard every time, because you can see what you have and you are far more likely to pick up a brush if it is already out. Group by activity rather than by type: a tin for drawing, a tin for watercolour, a box for glue and scissors.
- Jars and tins for brushes, pencils and palette knives, stood upright so bristles keep their shape
- A shallow drawer unit on castors that slides under the desk when not in use
- A three-tier trolley for paint, mediums and rags, wheeled to wherever you are working
- Clear lidded boxes for the occasional items, labelled on the lid and end
- A folder or portfolio for finished work on paper, kept flat and away from damp
Keep a lidded bin within reach and empty it weekly. Offcuts, dried paint skins and ruined brush-ends accumulate faster than anyone expects, and a small space feels cramped long before it looks untidy.
A Stool You Can Sit On for an Hour
Chairs get overlooked, and they are the reason many home studios fall out of use. A dining chair is too tall for most desks, a sofa is hopeless, and a wobbly stool will have you shifting your weight every few minutes. You want a seat where your feet rest flat on the floor or on a footrest, your thighs are roughly level, and your elbows sit close to a right angle when your hands are at the work surface.
An adjustable-height stool with a padded seat and a backrest is ideal, and many art and drafting stools come with a foot ring that makes longer sessions much kinder on your back. Add a small cushion if the seat is firm. If you are standing at an easel instead, a tall stool or perch stool lets you alternate between sitting and standing, which is far better for your shoulders than staying in one position.
Make Setting Up the Easy Part
A creative corner works best when it is ready to use. Try to leave your surface clear at the end of each session, with your current project tucked into a folder or covered with a cloth. Five minutes of tidying is a small price for starting the next day without hesitation.
Small habits help enormously. Keep a washable cloth and a jar of clean water by the desk. Keep a sketchbook open on the surface rather than stacked away. Keep the sharpener, the eraser and the pencil you reach for most in a mug at the front, not hidden at the back.
Finally, do not wait for the perfect studio. A corner with decent light, a stool that suits your back and the tools you actually use is enough to turn a hobby into a daily practice, and that is the whole point.

4 Comments